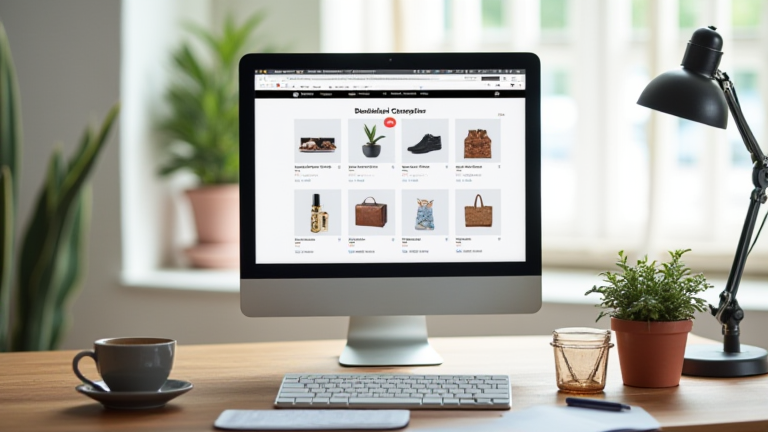
TL;DR: This guide walks you through creating a fully functional Shopify store from scratch, covering account setup, theme selection, product upload, and payment configuration. Follow these steps in order, and you’ll have a live, sellable store within 30–60 minutes.
Step 1: Create Your Shopify Account
Go to shopify.com and click “Start free trial.” Enter your email, password, and store name (this becomes your default URL, e.g., yourstore.myshopify.com). After confirming your email, Shopify asks for basic business details—skip this if you want, but filling it in helps tailor your dashboard. Tip: Choose a store name that’s short, brandable, and not trademarked.
Step 2: Choose and Customize Your Theme
In your admin, go to “Online Store” → “Themes.” Browse the free themes (Dawn, Craft, Sense) or paid ones ($150–$400). For beginners, pick a free theme—they’re fully responsive and optimized. Click “Customize” to edit: upload your logo, set your brand colors, and adjust the homepage layout (hero image, product grids, text blocks). Tip: Keep your homepage clean—one strong headline, one call-to-action button, and 3–4 featured products.
Step 3: Add Your Products
Go to “Products” → “Add product.” Fill in the title, description (use bullet points for readability), price, and compare-at price (for sales). Upload high-quality images (but note: you’ll use URLs or file uploads—this guide skips image code, but ensure your images are 1024x1024px minimum). Set inventory, SKU, and shipping weight. For variants (size, color), click “Add variants” and fill in options. Tip: Write descriptions that focus on benefits, not just features.
Step 4: Set Up Payment and Shipping
Go to “Settings” → “Payments.” Activate Shopify Payments (free, no transaction fees) or connect PayPal, Stripe, etc. Enter your bank details for payouts. Then go to “Settings” → “Shipping and delivery.” Set up shipping zones (e.g., domestic, international) and rates—use flat rates for simplicity, or calculated rates via carriers like USPS. Tip: Offer free shipping over a certain threshold (e.g., $50) to boost average order value.
Step 5: Add Essential Pages and Domain
Create “About Us,” “Contact,” and “Policies” (refund, privacy, terms) under “Online Store” → “Pages.” Use Shopify’s free templates or write your own. Then go to “Settings” → “Domains” to buy a custom domain (e.g., yourstore.com) or connect one you already own. Tip: Always add a “Contact” page—it builds trust and is required for some payment gateways.
Step 6: Test and Launch
Before going live, disable “Storefront password” under “Online Store” → “Preferences” (or keep it on for a “coming soon” page). Place a test order using Shopify’s “Bogus Gateway” (Settings → Payments → Manage → Test mode). Check emails, order confirmation, and inventory updates. Then, set your real domain as primary, and click “Launch.” Tip: Run a full checklist—mobile view, checkout flow, and page load speed.
FAQ
Q: Do I need a business license to start a Shopify store?
A: No, Shopify doesn’t require one, but you may need a local business license or sales tax permit depending on your country/state. Check your local regulations, and use Shopify’s tax settings to auto-calculate rates.
Q: How much does it cost to run a Shopify store for a beginner?
A: The basic plan is $39/month (annual billing) or $29/month (year
Leave a Reply