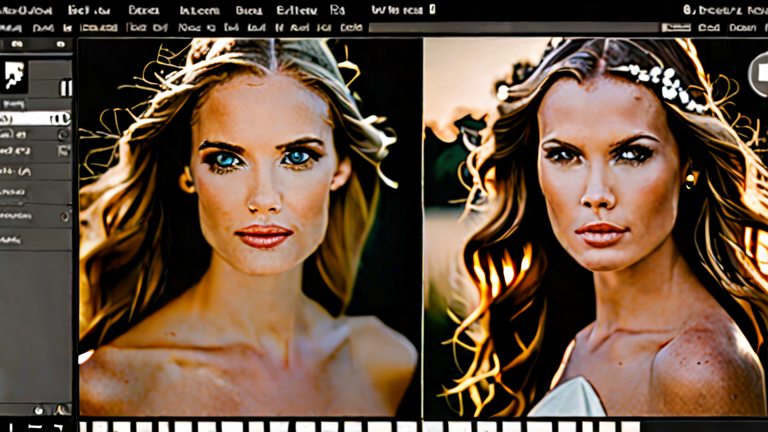
TL;DR: To edit photos in Lightroom, import your images into the Library module and select the ones you want to adjust. Then, move to the Develop module to apply exposure, color, and clarity adjustments using the intuitive sliders on the right panel.
Step 1: Importing Your Images
Begin by opening Lightroom and clicking the “Import” button at the bottom left. Choose the folder on your computer where your photos are stored. You can select specific files or entire folders here. During this stage, you can also add keywords or star ratings to help organize your library later. This step is crucial for keeping your digital workflow efficient and clutter-free.
If you want to dig deeper, check out our guide on How I Built a TTRPG with AI: Where It Actually Helped.
Step 2: Selecting Photos for Editing
Navigate to the Library module at the top of the screen. Browse through your thumbnails to find the images you wish to enhance. Click on a single photo to select it, or hold down the Shift key to select a range of similar photos. If you plan to batch edit, make sure the selected images have similar lighting conditions to ensure consistent results across the set.
Step 3: Basic Adjustments in the Develop Module
Click on the “Develop” module at the top. This is where the magic happens. Start with the “Basic” panel on the right. Adjust the “Exposure” slider to brighten or darken the overall image. Use the “Contrast” slider to make darks darker and lights lighter. The “Highlights” and “Shadows” sliders are incredibly useful for recovering detail in overexposed skies or underexposed faces. Tweak these carefully to balance the dynamic range without losing texture.
Step 4: Color Correction and Creative Effects
Next, explore the color controls. The “Temperature” slider allows you to make the image warmer or cooler, setting the desired mood. The “Tint” slider corrects green or magenta casts. For more advanced color grading, use the “HSL/Color” panel to adjust the Hue, Saturation, and Luminance of specific colors. For example, you might increase the saturation of blues for a vibrant sky or desaturate reds for a muted aesthetic. These tools give you precise control over the final look.
Step 5: Final Touches and Exporting
Apply any necessary cropping or straightening using the Crop tool. You can also add subtle vignettes or grain for a film-like effect. Once you are satisfied with the edit, click the “Export” button at the bottom left. Choose your file format, such as JPEG for web sharing or TIFF for print. Select the destination folder and click “Export” to save your high-quality image. This final step ensures your hard work is preserved in the correct format for your intended use.
FAQ
Q: Is Lightroom free?
A: No, Lightroom requires a monthly subscription to Adobe Creative Cloud, though a free trial is available for a limited time.
Q: Can I edit RAW files in Lightroom?
A: Yes, Lightroom is specifically designed to handle RAW files, allowing for non-destructive editing and maximum quality retention.
Q: How do I save my edits permanently?
A: Edits are saved as metadata within the catalog. To keep them with the file, use the “Sync” feature or export the image with settings embedded.
Leave a Reply