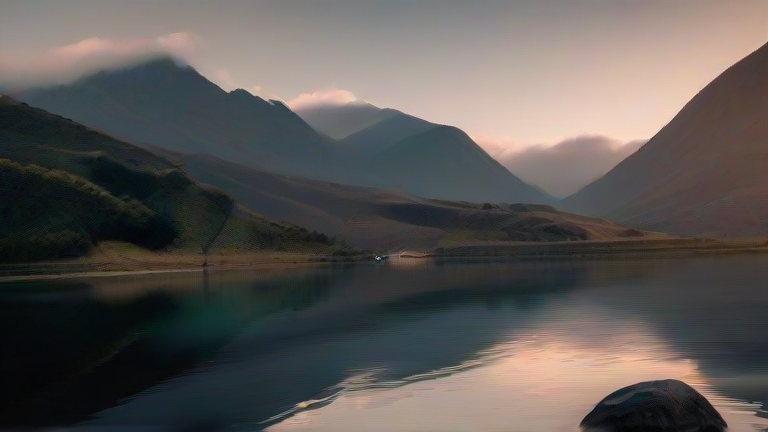
TL;DR: This guide walks you through the core tools of Lightroom Mobile—from importing and basic exposure fixes to color grading and export—using a simple, repeatable workflow. By the end, you’ll be able to turn a flat phone photo into a polished, shareable image in under five minutes.
Step 1: Import and Set Up Your Workspace
Open Lightroom Mobile and tap the “Add Photos” icon (plus sign) in the top-right corner. Select the image you want to edit from your camera roll. Once imported, tap the photo to enter the editing module. Ensure you are in the “Photo” tab at the bottom, not “Library” or “Share.” For a cleaner view, pinch to zoom out slightly so you can see the full image and the editing sliders simultaneously.
If you want to dig deeper, check out our guide on Top 10 AI Laptops for Developers: M4 Max vs. RTX 4090.
Step 2: Master the Basic Light Panel
Tap “Light” in the bottom toolbar. Start with Exposure—drag it right (+0.3 to +0.7) if the photo is dark, or left (−0.3) if it’s too bright. Next, adjust Contrast (+10 to +20) to add punch, but avoid going above +30 or you’ll lose detail. Use Highlights (drag left to −30 to recover blown-out skies) and Shadows (drag right to +30 to lift dark areas). Finally, set Whites and Blacks—tap the “Auto” button first, then fine-tune by dragging Whites right until the brightest pixels are just below clipping, and Blacks left until the darkest pixels are just above pure black.
Step 3: Fix Color with White Balance and Saturation
Scroll to “Color” in the same panel. Tap the eyedropper icon and select a neutral white or gray area in your photo (like a white wall or a gray rock). If that’s not available, manually adjust Temperature (drag left for cooler/bluer, right for warmer/orange) and Tint (left for green, right for magenta). Then, increase Vibrance (+15 to +25) rather than Saturation—Vibrance only boosts muted colors, leaving skin tones natural. Use Saturation sparingly (only +5 to +10) to avoid an overcooked look.
Step 4: Add Sharpening and Clarity
Scroll to “Effects.” Set Texture to +10 (adds micro-detail to skin or fabric) and Clarity to +15 (adds mid-tone contrast for a “3D” pop). Avoid going above +30 on either, or edges will look harsh. For Sharpening, go to “Detail” and set Amount to 40–60, Radius to 1.0, and Masking to 30 (hold the masking slider while dragging to see the white edges—only those areas get sharpened, protecting soft backgrounds).
Step 5: Crop, Straighten, and Export
Tap the crop icon (first icon in the bottom menu). Use the auto-straighten button (a level icon) to fix tilted horizons. Crop to a standard ratio like 4:5 or 1:1 by tapping the aspect ratio button. Finally, tap the share icon in the top-right, choose “Save to Device” (full resolution) or “Export As” to set quality. Always export as JPEG with quality set to 90% for social media.
FAQ
Q: Why does my edited photo look different after I export it?
A: Your phone’s screen brightness and color profile differ from the app’s preview. Always check your export by opening it in your gallery,
Leave a Reply