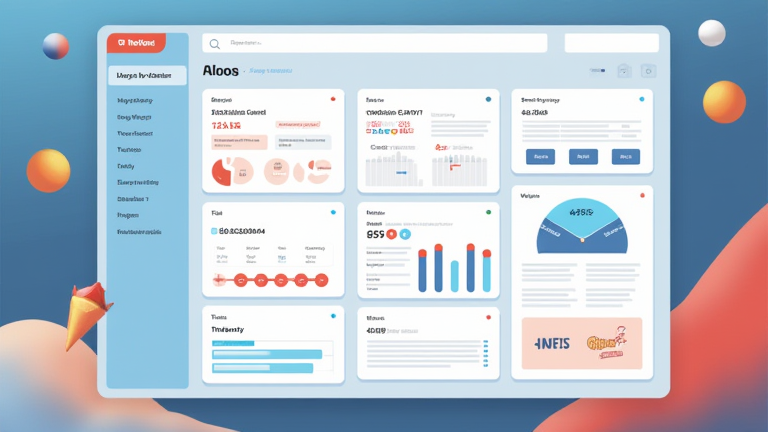
TL;DR: Build a personal dashboard in Notion by creating a single page, adding a header, and inserting a grid of databases for tasks, projects, and habits. Use toggles and filters to customize the view, ensuring you spend no more than ten minutes on setup.
Introduction to Your Digital Command Center
Notion is a versatile tool that allows users to organize their lives in one place. Instead of jumping between different apps for emails, tasks, and notes, a personal dashboard consolidates everything into a single, customizable view. This guide will walk you through the process of building a functional and aesthetically pleasing dashboard in under ten minutes. You do not need to be a coding expert or a design guru to achieve this. All you need is a free Notion account and a clear idea of what you want to track. The key to a successful dashboard is simplicity. Avoid clutter and focus on the essential metrics that drive your productivity and well-being.
If you want to dig deeper, check out our guide on Gut Microbiome Testing Goes Mainstream: What Consumers Need.
Step 1: Create Your Main Page
Start by opening Notion and clicking the “New Page” button. Give your page a clear title, such as “My Life Dashboard” or “Daily Command Center.” Add an icon that resonates with your personality or current mood. This page will serve as the container for all your modules. Keep the background clean to ensure that the content stands out. You can also add a brief description or a quote at the top to set your intention for the day. This step takes less than one minute and sets the foundation for the rest of your setup.
Step 2: Add Core Databases
Type “/table” to create a table database. Name it “Tasks.” Add properties like “Status,” “Priority,” and “Due Date.” This database will hold your daily to-dos. Next, type “/table” again and create a second database named “Projects.” Add properties for “Progress” and “Team.” These two databases form the backbone of your productivity system. You can link tasks to projects to create a hierarchical structure. This step is crucial because it provides the data that your dashboard will display. Take about three minutes to set up the initial properties and add a few sample entries to test the functionality.
Step 3: Implement Views and Filters
Inside the “Tasks” database, create a new view called “Today.” Filter this view to show only tasks with a due date of today or status “In Progress.” This view will give you a clear picture of your immediate workload. For the “Projects” database, create a view called “Active” and filter for projects that are not marked as “Done.” By using filters, you ensure that your dashboard only shows relevant information, reducing cognitive load. Spend two minutes configuring these views. This customization is what makes the dashboard truly personal and useful for your specific workflow.
Step 4: Layout and Aesthetics
Return to your main dashboard page. Drag the “Today” view from the Tasks database into the main page. Do the same for the “Active” view from the Projects database. Arrange these blocks in a grid layout. You can adjust the width of each block to fit your screen. Add a simple text block for a “Quick Note” or a “Habit Tracker” using a to-do list block. Use the “Toggle” feature to hide or show sections as needed. This step takes about three minutes. Focus on spacing and alignment to create a visually appealing interface. A clean layout encourages you to use the dashboard daily.
Tips for Success
Keep your dashboard minimal. If it feels cluttered, remove elements until it feels manageable. Use color coding for priorities to quickly identify urgent tasks. Regularly review your dashboard to remove completed items and update priorities. This routine ensures that your dashboard remains a useful tool rather than a source of stress. Remember, the goal is to streamline your workflow, not to create a complex system that requires constant maintenance.
FAQ
Q: Can I use this dashboard on mobile?
A: Yes, Notion is
Leave a Reply