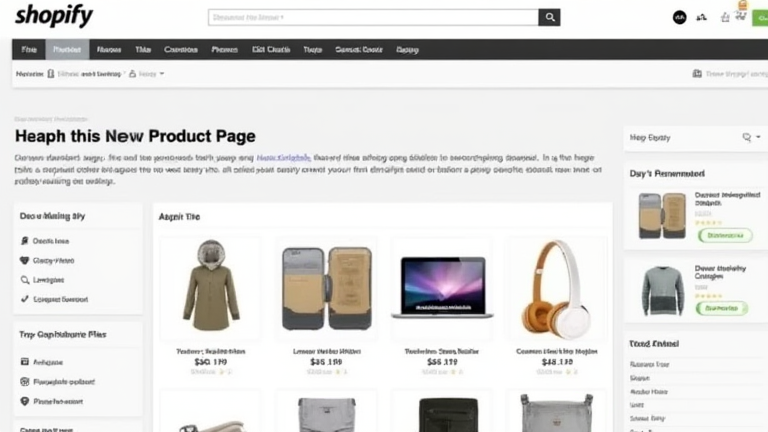
Shopify Product Page Tutorial: Step-by-Step Setup Guide
TL;DR: To create a high-converting Shopify product page, navigate to Products in your admin dashboard and input all essential details including title, price, and inventory. Enhance visibility by uploading optimized media and writing compelling descriptions that highlight key benefits.
Initial Setup and Basic Information
Begin by logging into your Shopify admin panel and selecting the “Products” tab from the main menu. Click the green “Add product” button to start a new listing. In the title field, enter a clear, concise name that accurately describes the item. Avoid keyword stuffing here; instead, focus on clarity and brand consistency. Next, set your price in the currency of your primary market. Ensure you also configure the tax status correctly, as this varies by region and product type. For inventory management, input the SKU if applicable, and set the initial stock quantity. If the item is out of stock, mark it as such to prevent customer confusion.
If you want to dig deeper, check out our guide on How Salesforce Agentforce Handles Daily Support Tickets.
Media and Description Optimization
Visuals are critical for conversion. Upload high-resolution images from multiple angles, including lifestyle shots that show the product in use. Ensure all images have a consistent background and lighting to maintain a professional look. Compress images before uploading to maintain fast loading speeds. In the description section, use short paragraphs and bullet points to make the text scannable. Highlight key features, materials, and dimensions. Use the rich text editor to bold important phrases, but avoid excessive formatting that clutters the page. Consider adding a video if possible, as this can significantly boost engagement and trust.
Variant Management and Pricing
If your product comes in different sizes, colors, or materials, use the “Add variant” feature. Each variant can have a unique price, SKU, and inventory level. This allows customers to select their preference without creating separate products. Keep the variant structure logical to avoid overwhelming shoppers. For example, group by color first, then size. Ensure that any sold-out variants are clearly marked or hidden if your store settings permit. This helps maintain a clean user experience and reduces cart abandonment rates.
SEO and Final Review
Before publishing, optimize your SEO settings. Fill in the meta title and description fields with relevant keywords that potential customers might search for. These snippets appear in search engine results, so make them compelling. Add alt text to all images to improve accessibility and search visibility. Finally, preview your product page in both desktop and mobile views. Check for broken links, spelling errors, and layout issues. Once satisfied, click “Save” and then “Publish” to make the product live. Monitor its performance regularly and update content as needed to stay competitive.
FAQ
Q: How many images should I upload per product?
A: Aim for at least five to seven high-quality images, including close-ups, lifestyle shots, and infographics, to provide a comprehensive view of the product.
Q: Can I edit a product page after it is live?
A: Yes, you can edit any product details at any time. Changes are reflected immediately on your storefront, so ensure accuracy before saving.
Q: What is the best length for a product description?
A: There is no fixed rule, but keep it concise yet informative. Focus on benefits rather than just features, and use bullet points for easy reading on mobile devices.
Leave a Reply